Tuesday, April 24, 2012

DPM–DPM to DPM Replication with DPM 2010 / DPM 2012 through Firewall

There was a request by one of the end users that they would like to bring down the Dynamic Ports range. Currently the Microsoft default Dynamic Ports are from 1024-65535.

Therefore the following are requested to be lock down.

image

The following steps are needed to be perform for all the DPMs and also the protected servers.

Now open up the command prompt (run as Administrator).

image

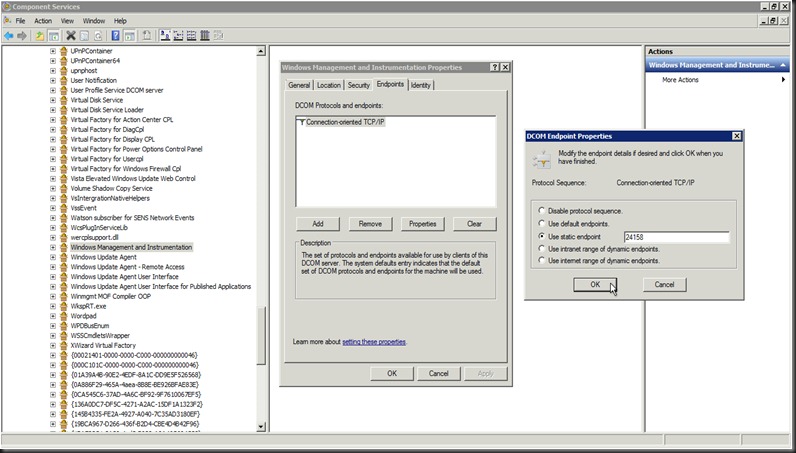
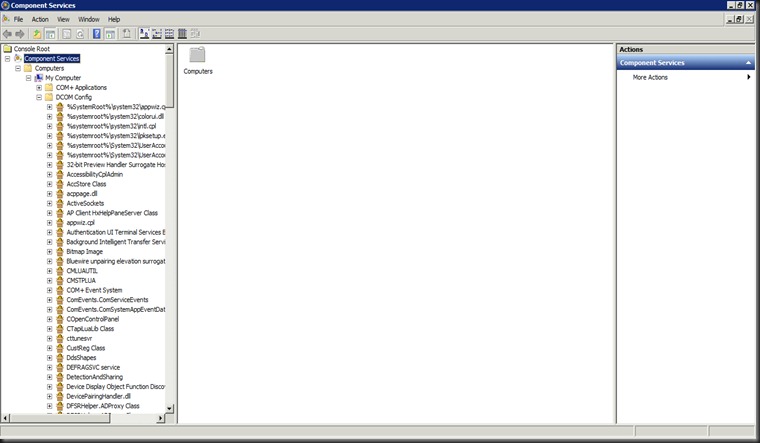
View through the Component Services from the Administrative Tools.

DPMPRDSVR-05-13

Scroll down to Windows Management and Instrumentation and then right click to view the properties :

DPMPRDSVR-05-17

The click on the Endpoints Properties of the TCPIP.

Should be able to see as above.

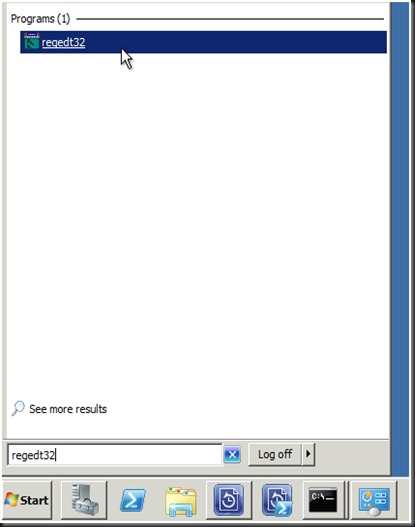
Next is to amend the Registry for the Dynamic Port range.  Execute the command with regedt32 and not regedit

DPMPRDSVR-05-19

Scroll down to the HKEY_LOCAL_MACHINE\Software\Microsoft\Rpc\

image

Create the key Internet

Then navigate to HKEY_LOCAL_MACHINE\Software\Microsoft\Rpc\Internet to create the following

image

By end of the result, you should see the below.

image

Reboot the Protected Servers, Primary DPM & the Secondary DPM server

Configure the Firewall ports accordingly as below to allow the Primary DPM server and the Secondaray DPM server to communicate.  Also the firewall MUST allow the Secondary DPM server to communicate with the Primary Protected Servers by having the firewall ports configured too.

image

Thanks to the TechNet resource and also to Lai YS for his guide.

keywords : DPM to DPM replication, limit Dynamic ports, firewall configuration for DPM 2010 DPM 2007, Protected servers through firewall

Monday, April 16, 2012

Presenting iSCSI (in a VM) to Windows Server 8 (Physical Host)

I’m going to share with you today on how I present iSCSI LUN (running as a VM Server 2008 R2) to a physical Host that is running Windows Server 8 (Running Hyper-V).  This Windows Server 8 is also running as Hyper-V role and hosting the VM that earlier I mentioned running

In summary is as below :

image

image

Host : From Windows 8 Server  (Part 1)

Hyper-v-1

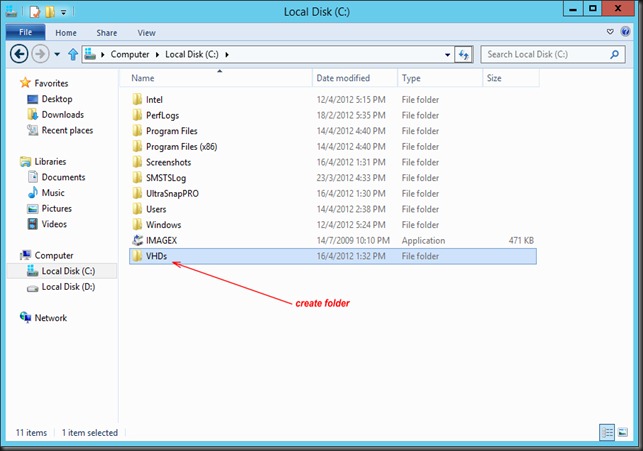
  • Create a folder and label it as VHDs

Hyper-v-3

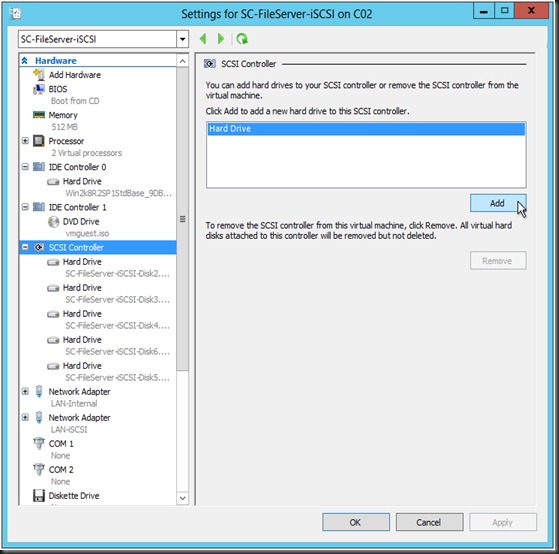
  • Launch the Hyper-V.
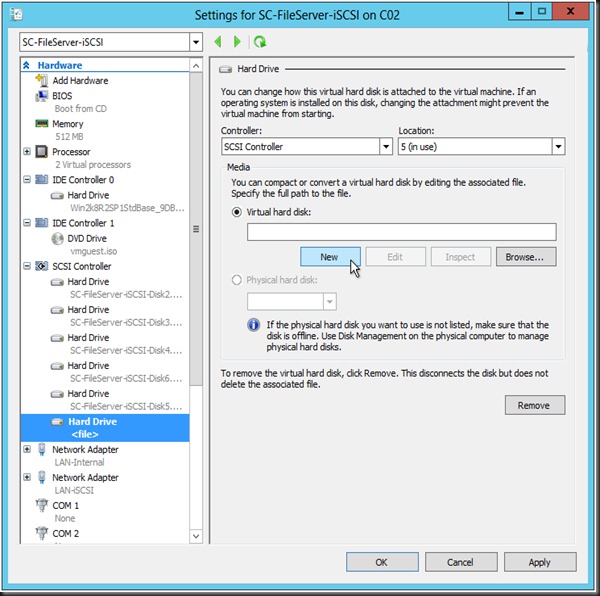
  • Maneuver to the SC-Fileserver-iSCSI settings
  • Click on the SCSI Controller and add Hard Drive.

Hyper-v-5

  • Click New.

Hyper-v-6

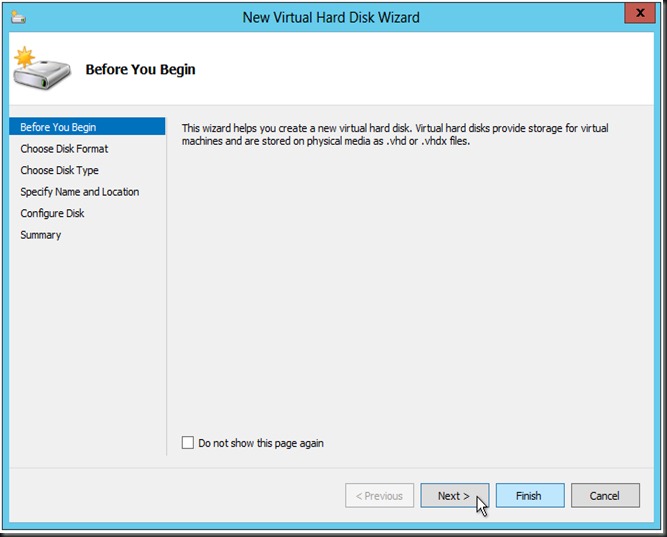
  • Click Next >

image

  • Select VHDX and click Next


Hyper-v-8

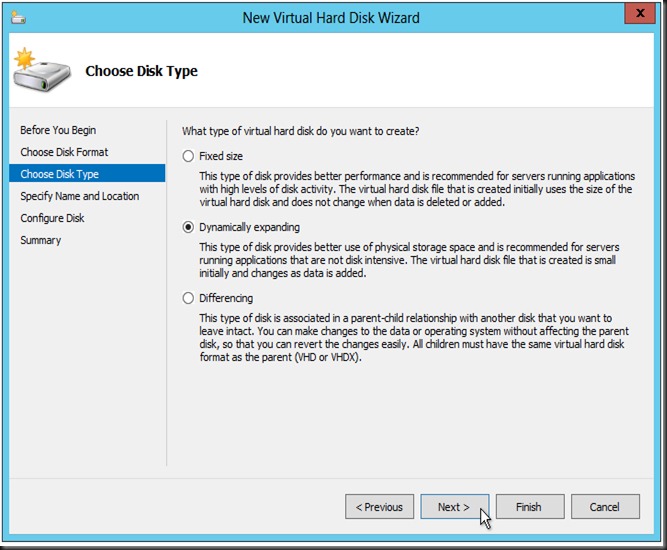
  • Click Next >

Hyper-v-10

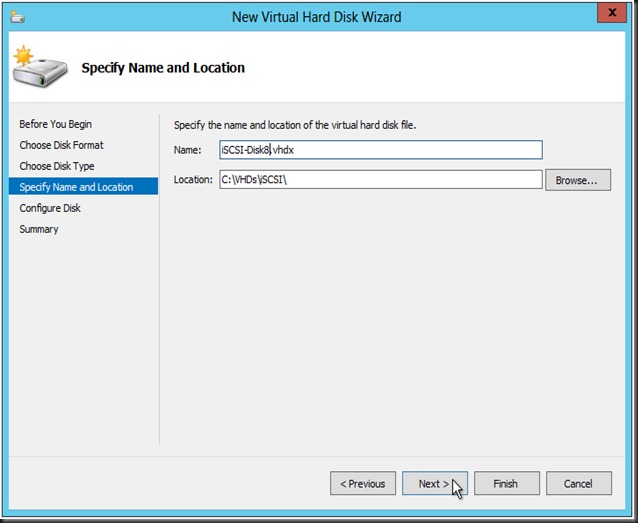
  • After creating the file, it should end with vhdx extension.  The location of the folder is the same as created in Windows Explorer.


Hyper-v-11

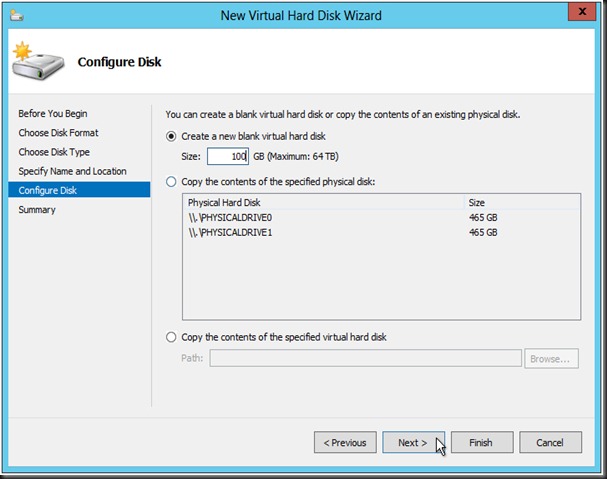
  • Put in the size of the virtual hard disk and click Next.

Hyper-v-12

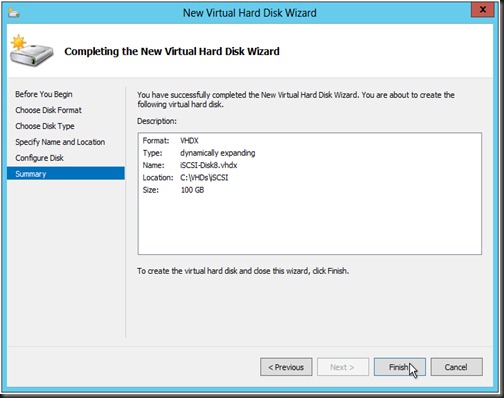
  • Review and click Finish.

Hyper-v-13

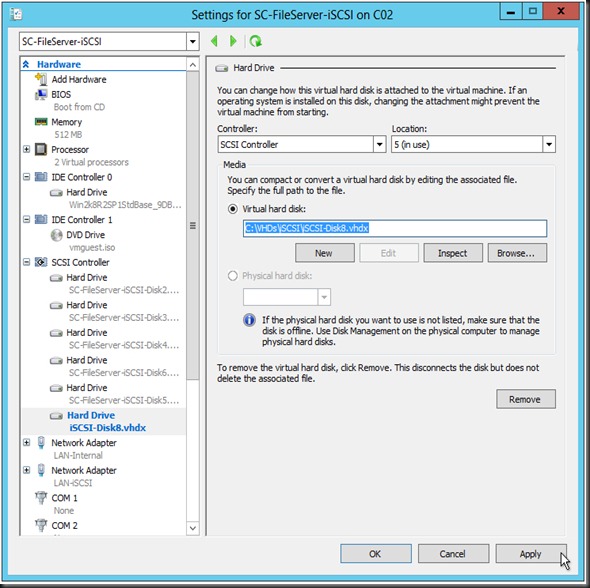
  • Click apply and then OK.

Hyper-v-15

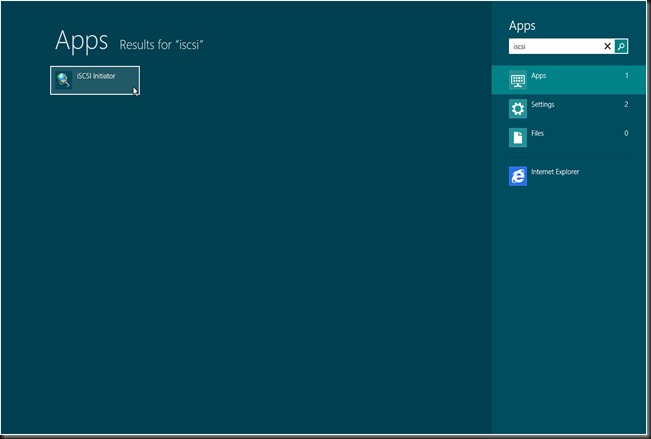
  • In the Windows Server 8, launch the iSCSI Initiator.

image

  • If the iSCSI server is not running, click Yes to start it.

Hyper-v-17

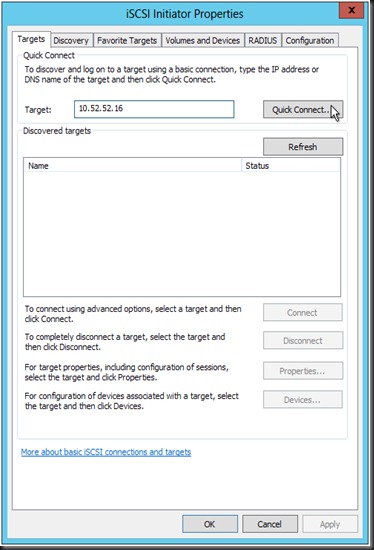
  • Key in the IP address of the iSCSI IP address of the server.  In my case is 10.52.52.16.
  • Click Quick Connect.

Hyper-v-18

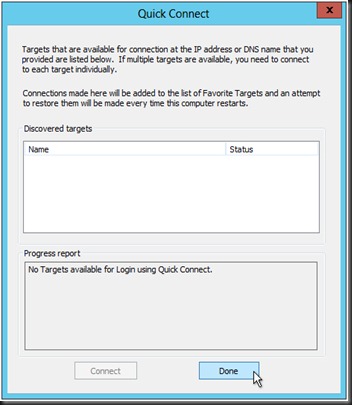
  • Click Done.
  • Now we switch on to the server that is the iSCSI target.


iSCSI Target : SC-FILESERVER-iSCSI (Part 2)


SC-Fileserver-2

  • Launch the Server Manager in the SC-FILESERVER-ISCSI
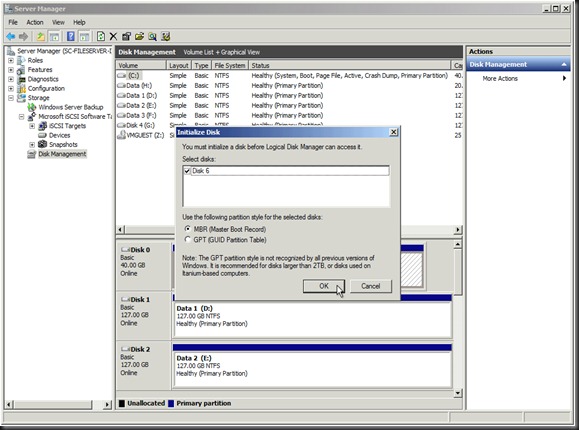
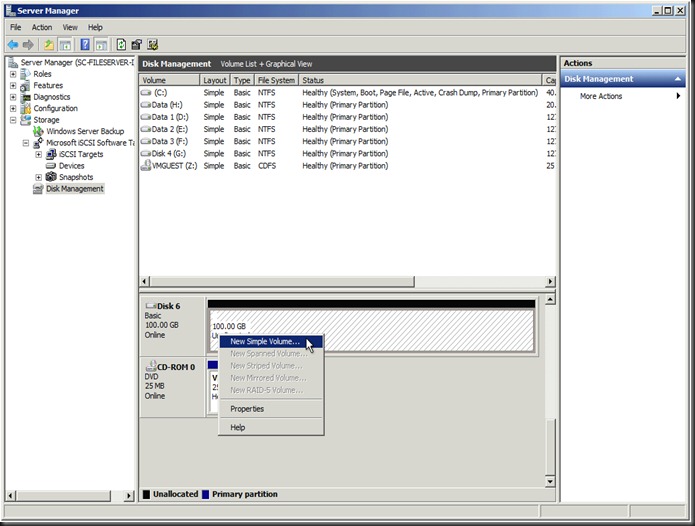
  • Then scroll down to the Disk Managert
  • Initialize the disk (that was just presented)

SC-Fileserver-1

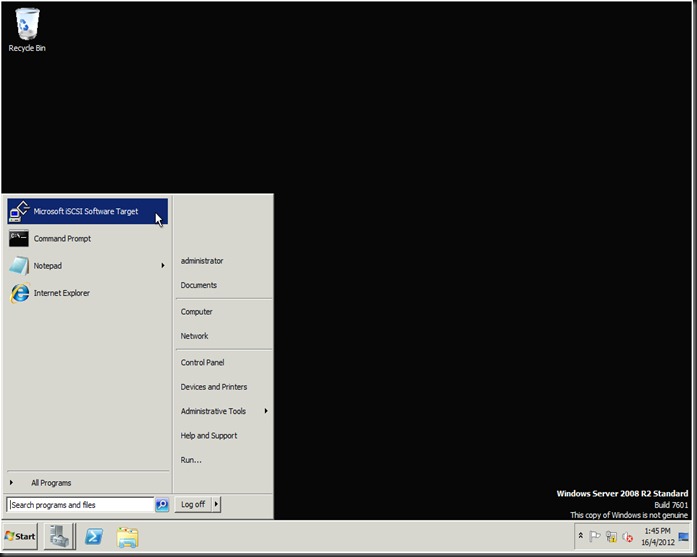
  • Launch the Microsoft iSCSI Software Target.

SC-Fileserver-3

  • Right-Click New Simple Volume and then quick format it.
  • Once it’s done click Finish.

SC-Fileserver-10

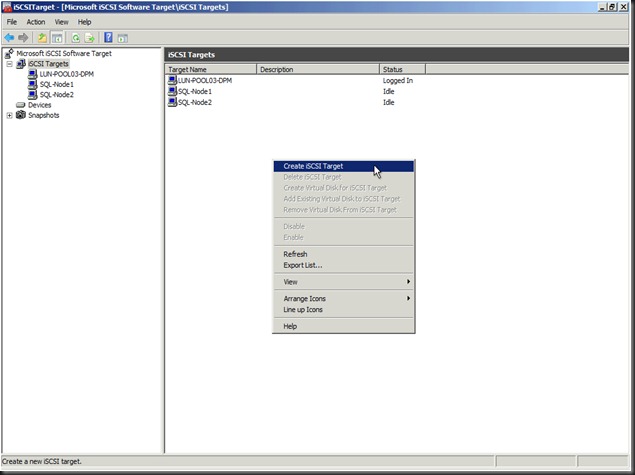
  • Launch the iSCSI Target in the VM
  • Scroll to the iSCSI Targets.
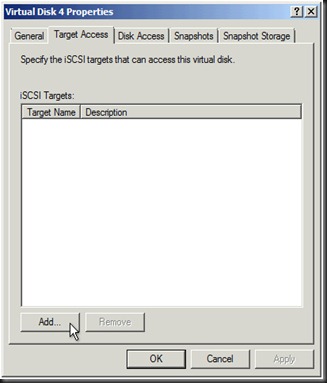
  • Right-click on the right panel and then select Create iSCSI Target.

SC-Fileserver-12

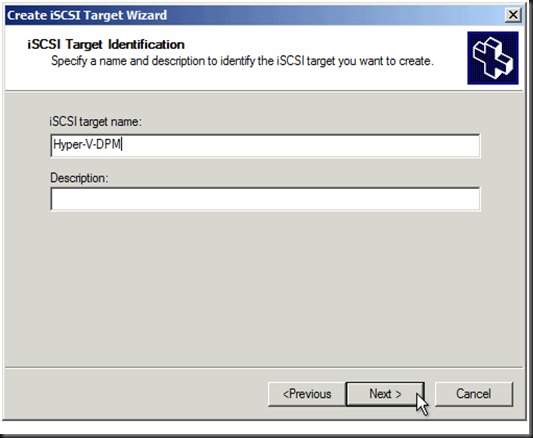
  • Key in a meaningful name and click Next.

SC-Fileserver-13

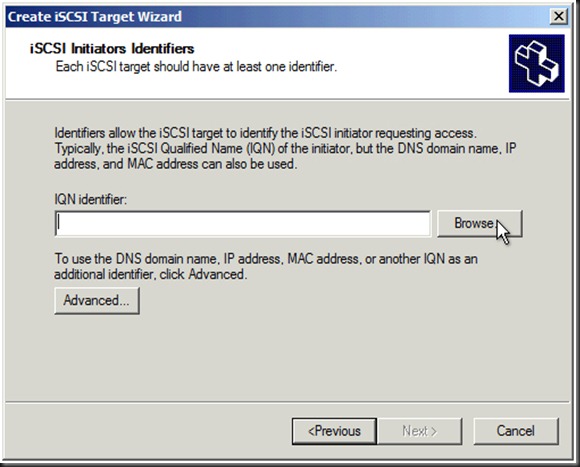
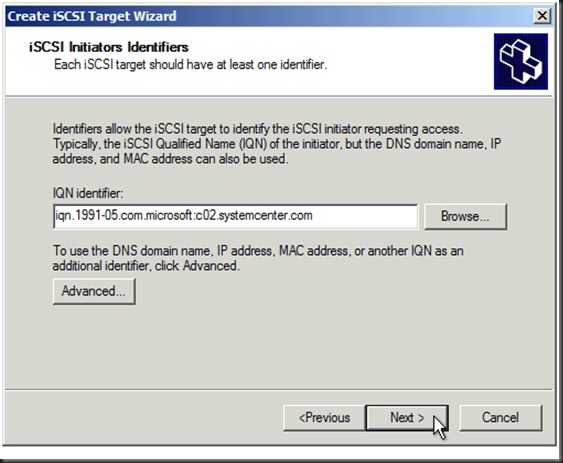
  • Click Browse.

SC-Fileserver-14

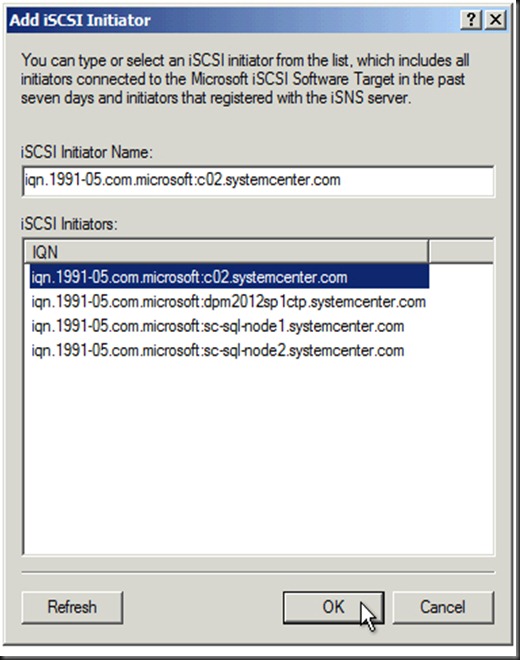
  • The step performed earlier, from the host has triggered an entry into the iSCSI initiators listing
  • Select it (in  my case is C02), then click OK.

SC-Fileserver-15

  • Click Next then click Finish.

SC-Fileserver-17

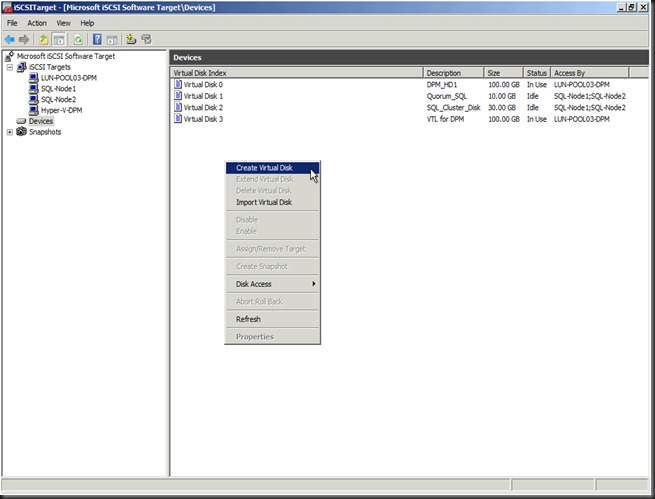
  • Click on Devices on the left panel
  • Then Right-Click on the right panel and select Create Virtual Disk.

SC-Fileserver-18 SC-Fileserver-19

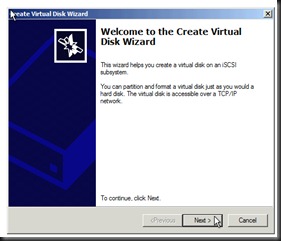
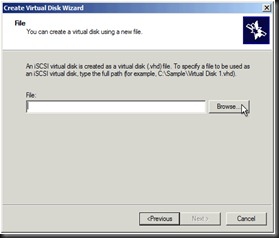
  • Click Next.
  • Then click Browse.

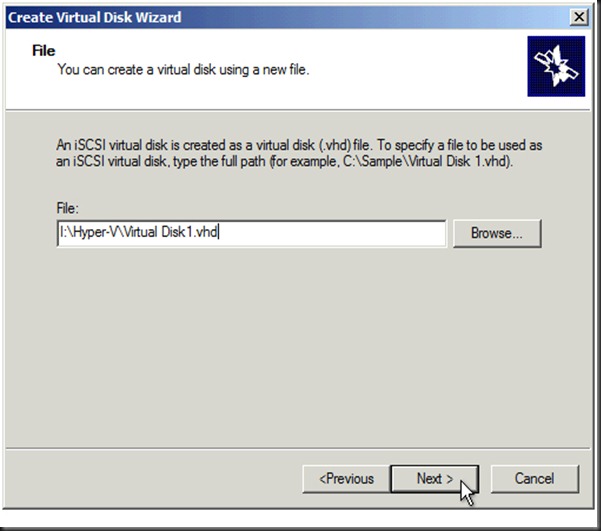
SC-Fileserver-21

  • Key in the File with .vhd extension


image

  • Key in the Size of the VHD and then click Next.
  • Then click until Finish.

SC-Fileserver-31

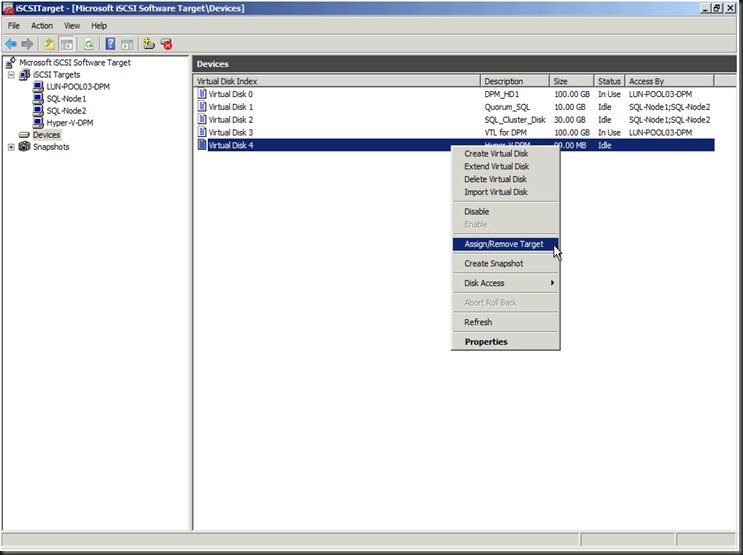
  • In the iSCSI Target, select Devices
  • Select the Disk that was just recently presented, right-click and Assign/Remote Target.


SC-Fileserver-32     SC-Fileserver-33

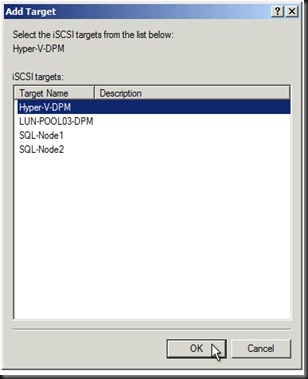
  • Click Add
  • Select the Target that was created.
  • In my example is Hyper-V-DPM.  After selecting click OK.
  • Now it’s back to the Host (physical).


Windows Server 8 Host Server (Part 3).

Hyper-v-21

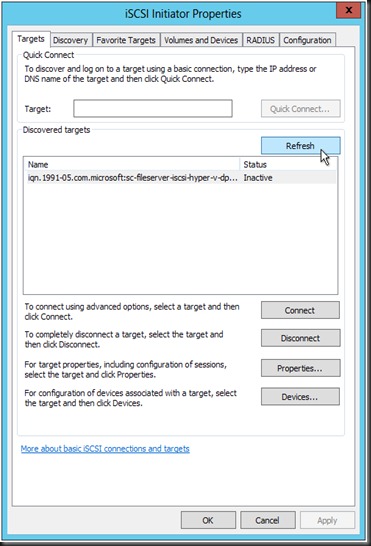
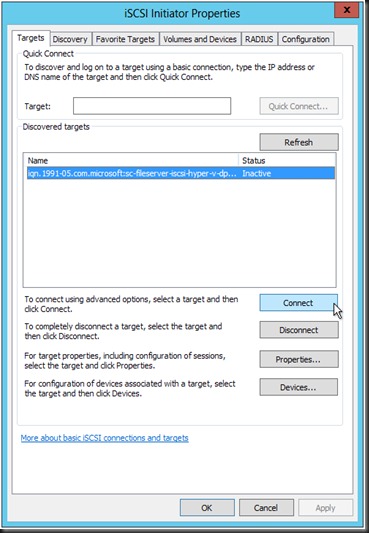
  • In the iSCSI inititor, click on Refresh.

Hyper-v-22

  • Then click Connect.

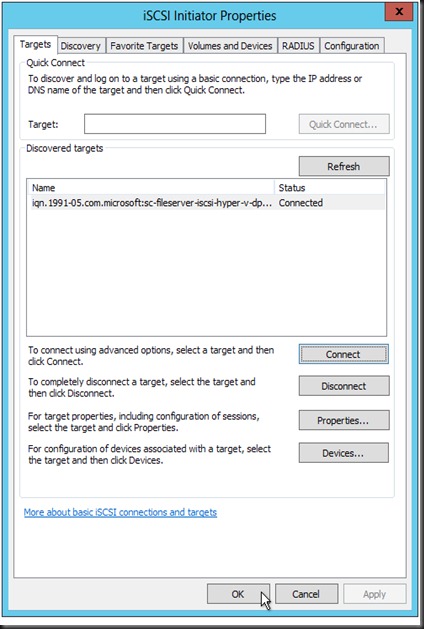
Hyper-v-24

  • Click OK.

image

  • Now it’s ready for DPM usage.

image

  • Now the storage is ready for Hyper-V Host to use.  In my case, this LUN has been dedicated for DPM only.

Hope the above helps you for your testing or Lab environment.

      note : Hyper-V Windows 8 DPM storage, DPM 2012 storage provision from internal iSCSI or storage.